Many years ago, I started a new tradition of learning something new every year. Some years, it was practical stuff related to blogging skills or being more organized with home schooling my kids. Some years, it was necessity to improve my health. Some years, I chose skills just for fun — like how to use my camera in manual mode.
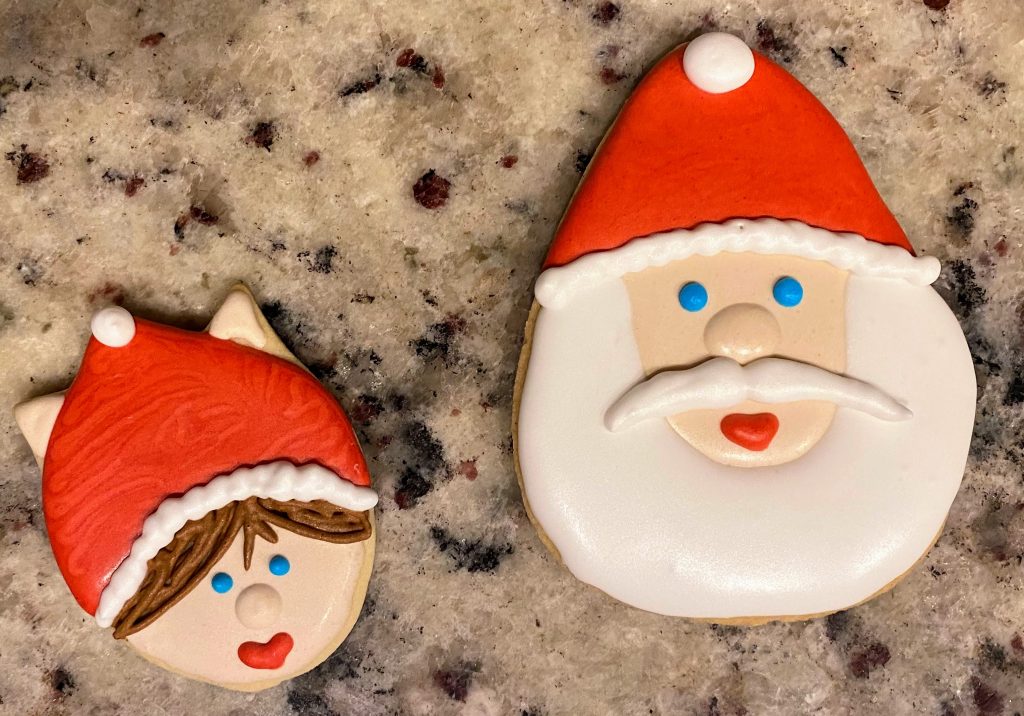
Historically, I am not the best baker. My cookies tended to burn. (Really!)
And when we would pull out the icing and sprinkles for sugar cookies, I had Food Network quality visions in my head…
Execution? Pathetic!
When I told my husband I wanted to master sugar cookies, he was skeptical, but supportive.
My journey began in January, and I have learned A LOT!


In this post, I am sharing general sugar cookie baking tips that you can apply easily, no matter how much experience you have.
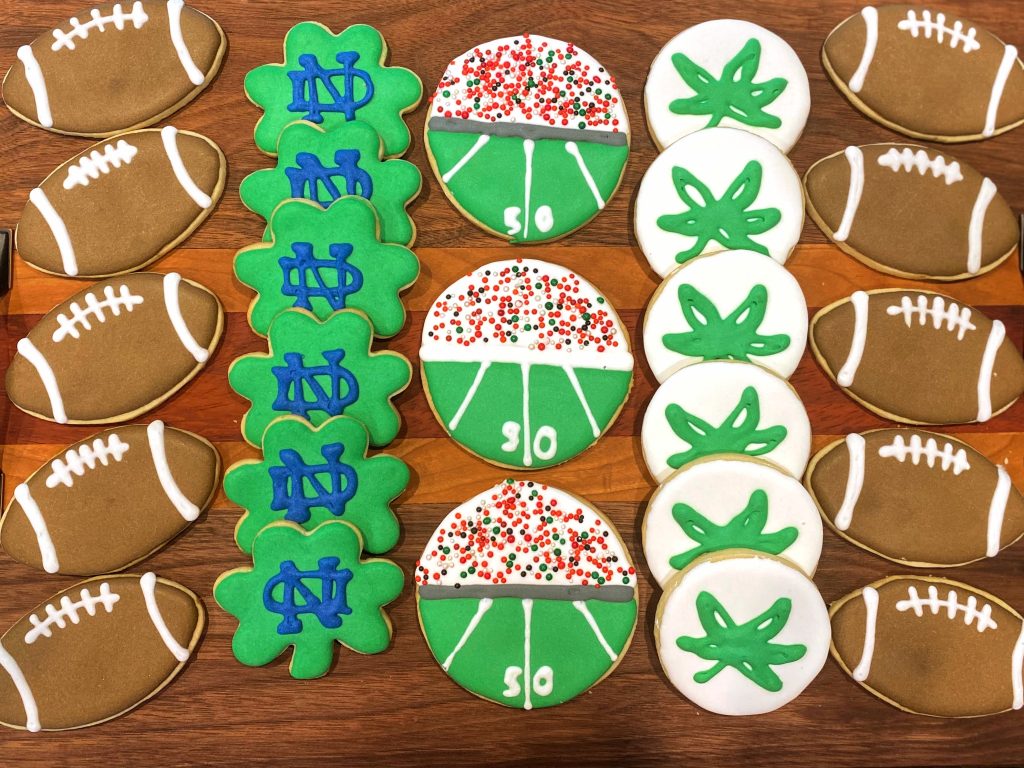
In the coming weeks, I will share my recipes for coffee toffee sugar cookies, peppermint cheesecake cookies, and apple cider cookies. I’ll also show you how to decorate with royal icing, glaze and buttercream.
But first, the basic cookie baking tips!
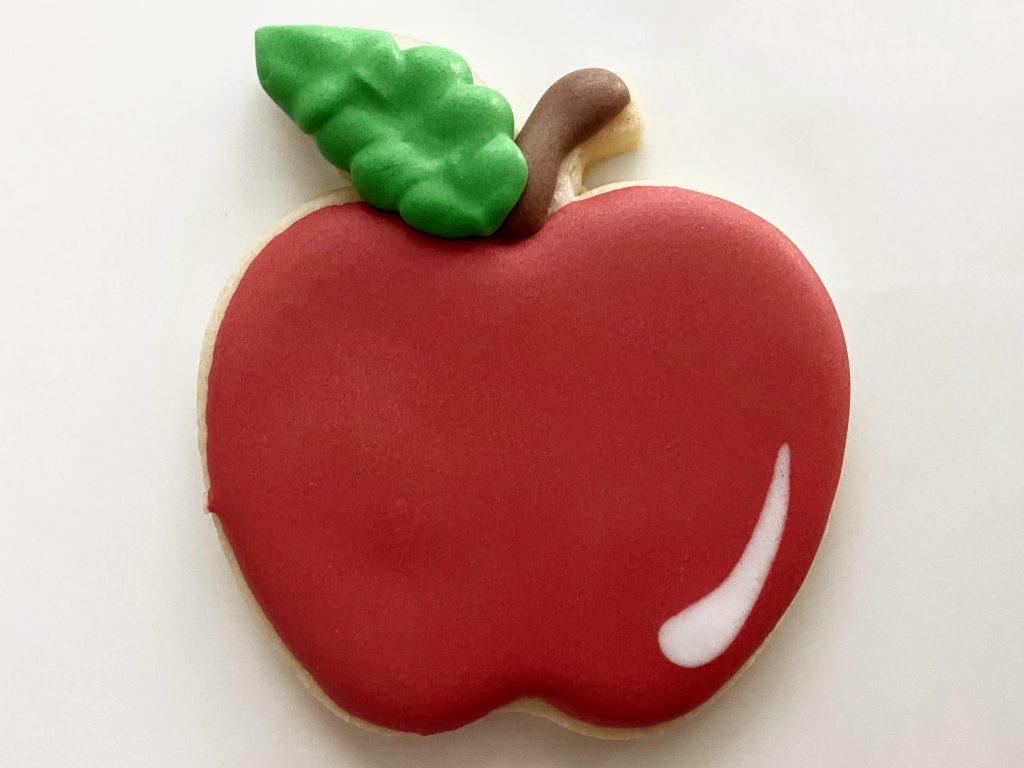
The most important of all cookie baking tips is to start with the right tools!
Just like it takes proper equipment to build a house, using the right equipment makes cookie baking go better.
Besides the obvious bowls, mitts, cookie sheets and cooling racks, there are some specific tools to use for perfect sugar cookies every time.
- A rolling pin with thickness rings
- Silicone mats (you need two!)
- A kitchen scale
ROLLING PIN WITH THICKNESS RINGS
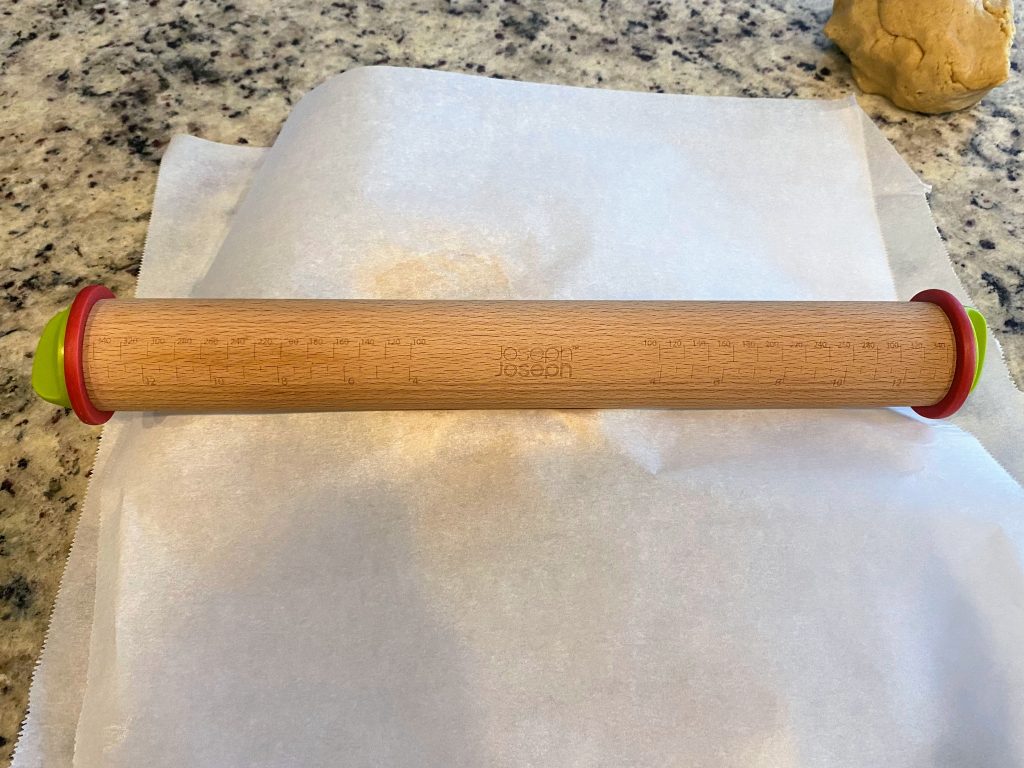
A rolling pin with thickness rings is a game changer for cookie baking. The rings on the side ensure that all the dough gets rolled to a consistent thickness for even baking.
This is my favorite of all cookie baking tips, because I no longer have burnt edges on my cookies!
At home, I bake cookies to 1/4″ thick. They are sturdy enough to decorate and have a good cookie to icing ratio when done.
When I bake cookies for others, I bake them to 3/8″ thick — just a little heftier — so they don’t break in transit. That also allows me a good ratio of cookie to icing for the extra decorating I do on those cookies. It takes a little extra time to bake the thicker cookies.
SILICONE MATS
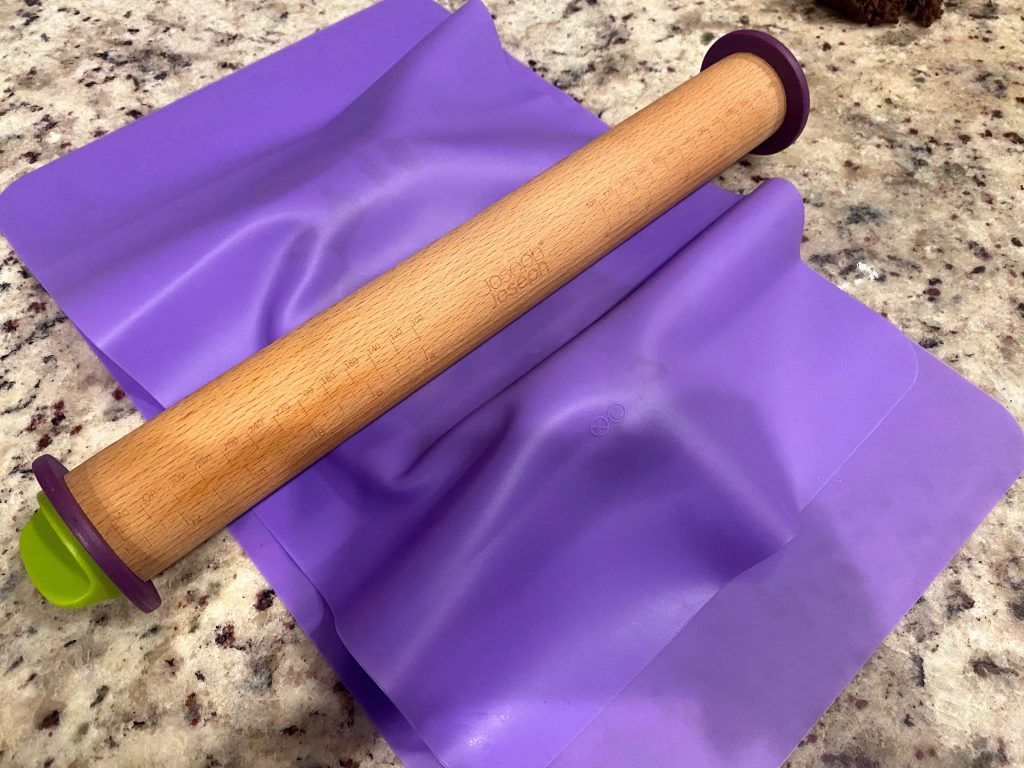
You may be familiar with using silicone mats for baking. I don’t do that, as I prefer parchment, but silicone mats are still one of the most important cookie baking tips I have discovered this year.
You know how recipes say to sprinkle the countertop with flour to roll out your dough?
Yeah…. I have always done that and hated it. First of all, it makes a mess! A HUGE MESS!
Secondly, as the flour works itself into the dough, the cookies get drier and more crumbly. Using silicone mats instead of flour means the dough stays pliable and doesn’t get crumbly.
To use:
- Place a silicone mat on the countertop.
- Place half the dough in the center of the mat and press it down with the heal of your hand to make a 1/2″ thick disk. No need to be precise, just flatten it out a bit so you don’t have to roll so much.
- Place a second silicone mat over the dough, and then roll it out with your rolling pin with thickness rings — either 1/4 inch or 3/8 inch.
- Pull of the top silicone mat, and then cut out your cookies!
A kitchen Scale
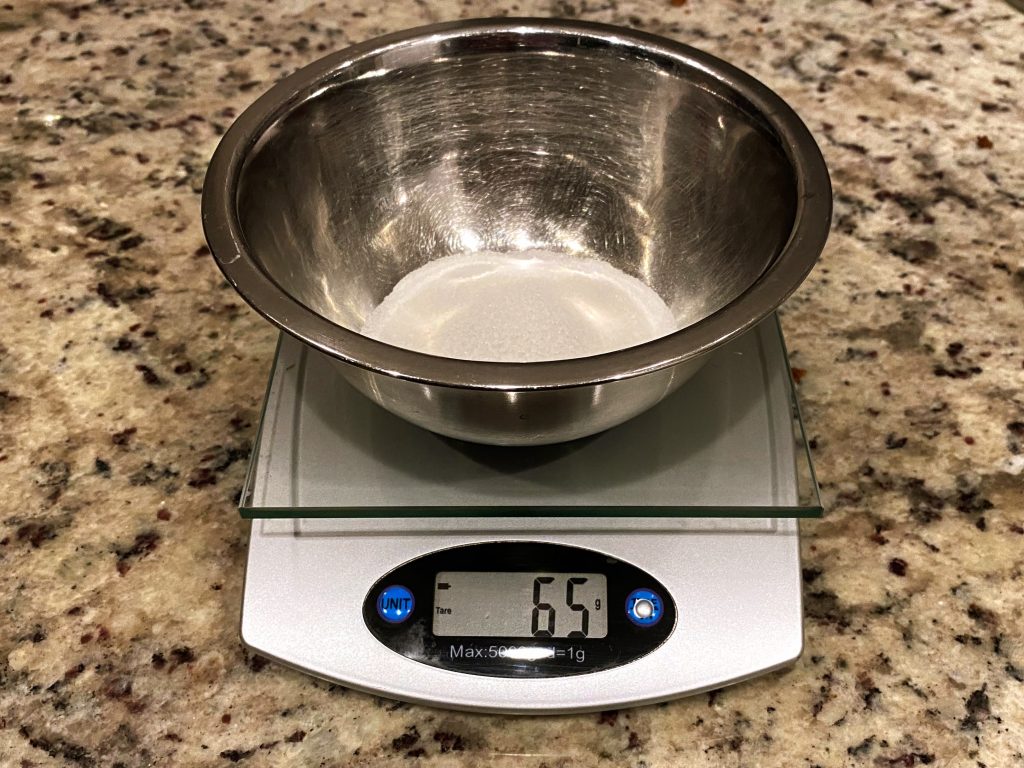
For perfect cookies every time, the kitchen scale is critical! The best sugar cookie recipes provide measurements by weight, not just by measuring cup full.
Using a kitchen scale, you can get precisely the same amount of flour, sugar, and other ingredients every time so that your cookies bake consistently.
I recently upgraded my kitchen scale to this rechargeable scale by Taylor with dishwasher safe measuring tray. It’s a bit sturdier and allows me to keep my kitchen cleaner, both worth the investment.
PRO LEVEL cookie baking tips: When baking in high humidity conditions, you may need to add more flour to compensate for the moisture in the air. As you bake more cookies, this becomes easier to judge!
Cookie baking tips to use a kitchen scale:
- Place a bowl on the scale before turning it on.
- Calibrate it to zero and set the measurements for what you want (usually grams).
- Add first ingredient (example, flour) to the weight indicated.
- Without moving the bowl, reset the scale to zero.
- Add the next ingredient (example, baking powder) to the weight indicated.
- Repeat for each dry ingredient.
- Do the same with a separate bowl for the wet ingredients if desired. If not for the butter and eggs, at least for the sugar!
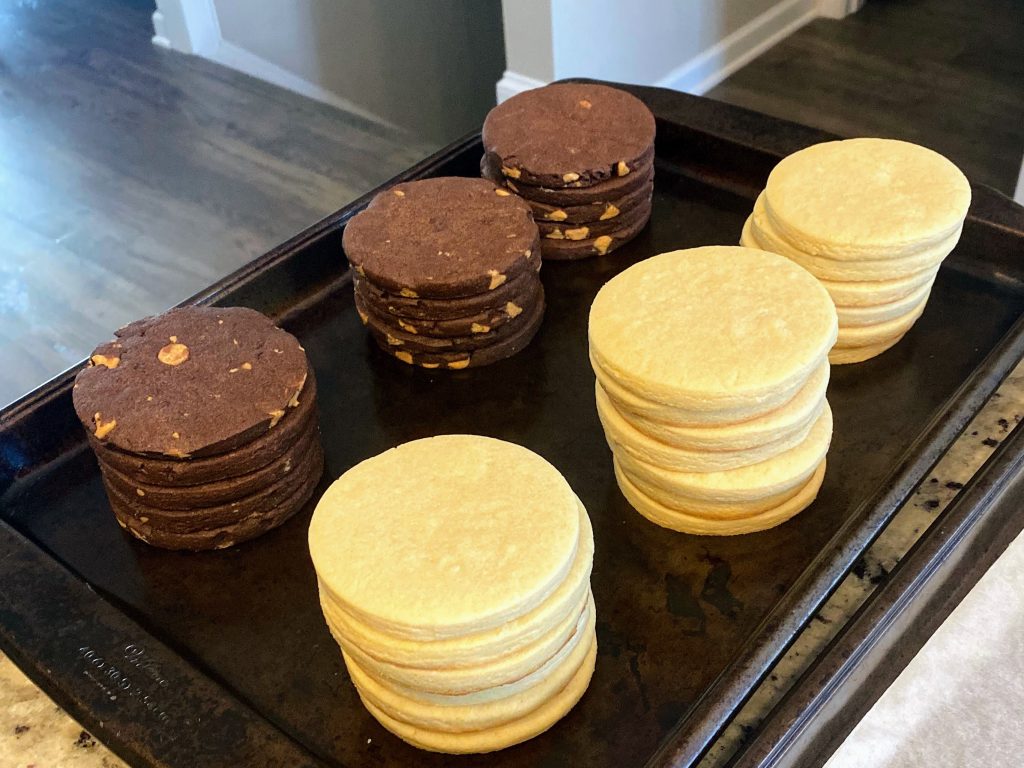
When I began my cookie baking journey, I had no idea that recipes were so varied. So the next of my cookie baking tips is to keep experimenting with recipes until you find the one that really works for you.
The perfect recipe is the one you find easiest to work with that leads to the flavor you prefer.
Basically, that means trial and error.
To make it easy, here are some of the most popular sugar cookie recipes to try. In a future post, I’ll share the recipe I use — modified from a few of these!
- The Hutch Oven Vanilla Bean Cookie — This cookie is tender, but holds its shape. The flavor comes from using real vanilla bean or vanilla bean paste, which can be expensive. I have found that in the humid environment where I live, the dough needs to rest in the refrigerator for close to an hour to hold its shape during baking.
- The Lilaloa Vanilla Variation — This cookie promises no refrigeration needed, which is good if you don’t like waiting! She explains in the recipe how to adjust the flour if you won’t be refrigerating it. This is closest to the recipe I use, and it produces consistent results that work well in our area (Raleigh, NC). She also has a recipe called Vanilla 2.0 that is quite popular with cookiers, but I found this recipe does not work as well for me.)
- Alton Brown’s Sugar Cookies — Since Alton Brown is my husband’s culinary hero, I have to try his recipes when they’re available. This recipe makes a buttery, sweet cookie, but does not have a strong flavor otherwise. It requires refrigeration for an hour to set the dough.
Try these recipes yourself and see which one works best for you. In my early research, I was truly surprised to learn that one of the best cookie baking tips is keep trying recipes until you find the one that works. I figured they would all work about the same.
Then, don’t be afraid to modify as desired!
I make a coffee-toffee cookie, peppermint-cheesecake cookie, apple cider cookie, chocolate peanut butter cookie now. All recipes I have developed by experimenting from my base sugar cookie.
It’s fun food science!
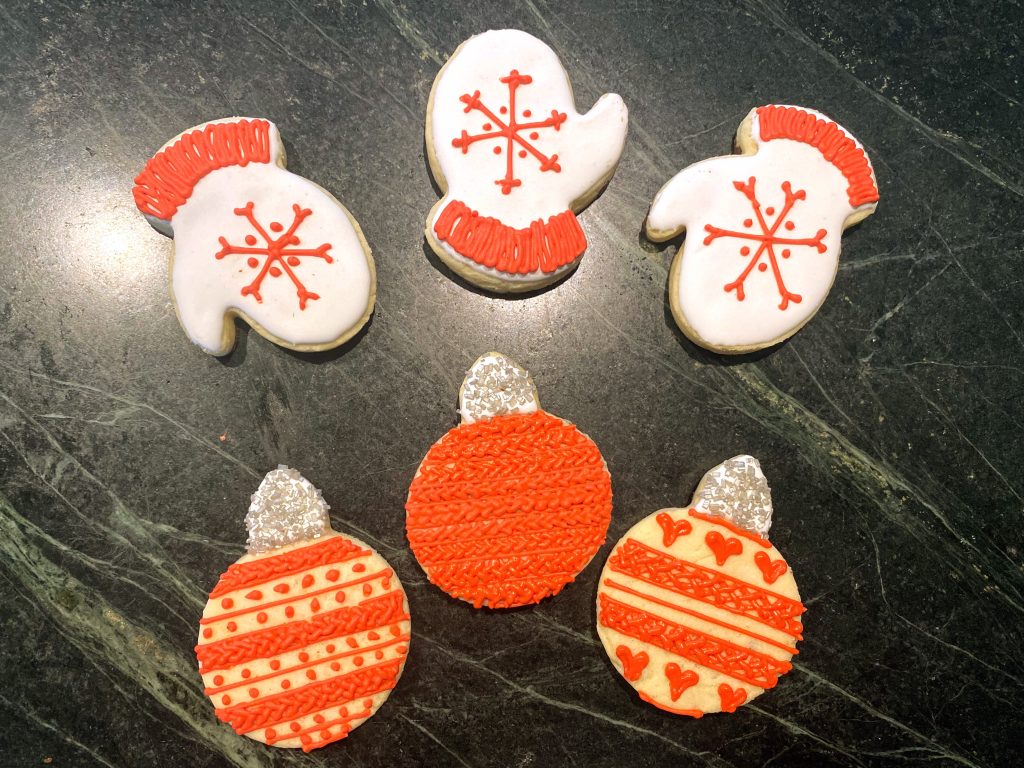
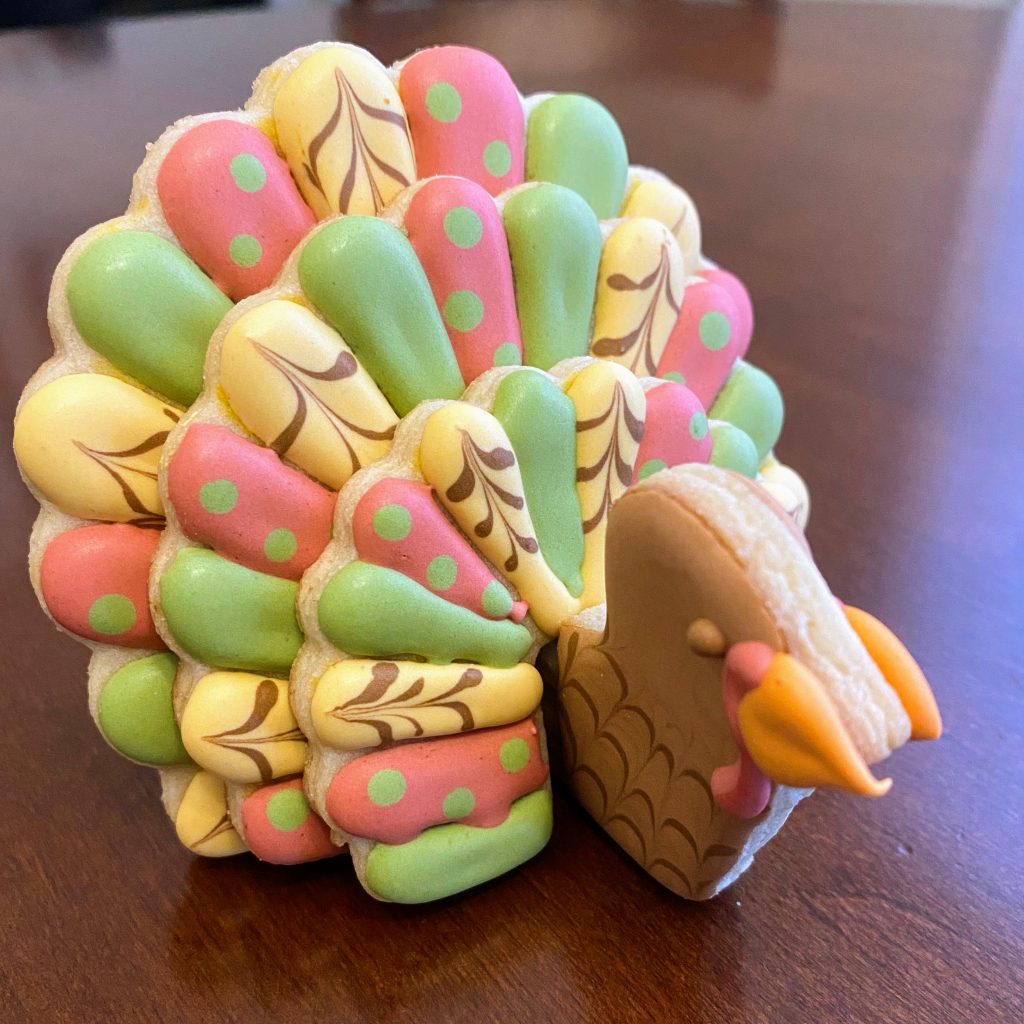
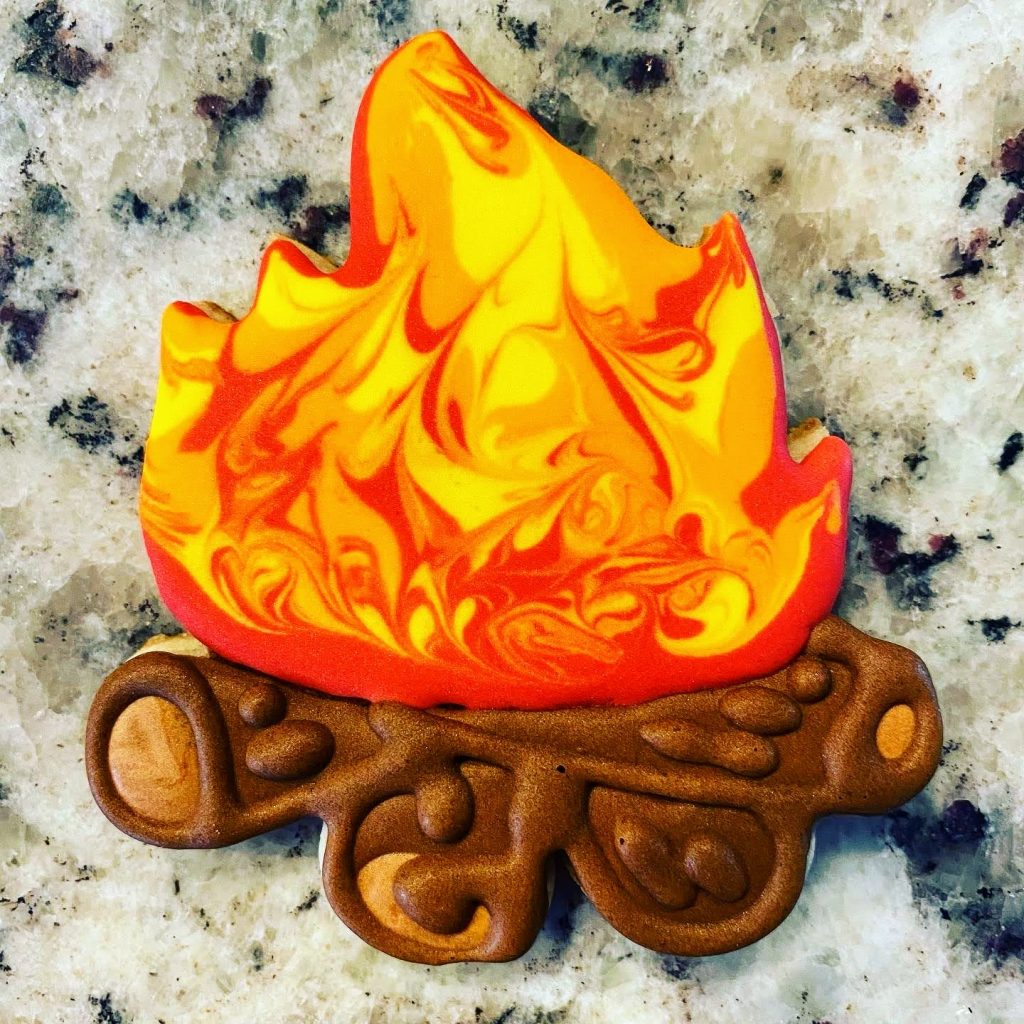
Believe it or not, making beautiful cookies is NOT hard. With the right tools and some patience, you can master basic sugar cookies.
Cookiers use three types of icing to make beautiful cookies.
So, before you dive in, this is the last of the important sugar cookie baking tips! Decide which type of icing you want to use and practice, practice, practice! It gets easier, and in time, you might use a combination of all three. Like me!
- Royal Icing — You know those rock hard decorations you can buy in the grocery store baking aisle, the ones that say happy birthday? Well, they’re made from really stiff royal icing. Homemade royal icing is NOT as hard, but it does set so that your designs stay put. Royal icing uses either pasteurized egg whites or powdered meringue powder, and the icing “puffs” to create multidimensional designs.
- Glaze — Icing glaze does not use meringue powder or egg whites. Made mostly of powdered sugar, it eventually hardens to preserve designs. Glaze does not puff up the same way royal icing does.
- Buttercream — Specifically, crusting buttercream, is also used to create fluffy, buttery sweet cookies. I love the taste of buttercream. While crusting buttercream will set and hold a design, the decorations are a bit more fragile. Buttercream cookies are best stored in a single layer so the designs don’t get smushed.
- The recipe I use is actually a modification of “Frankenfrosting,” a hybrid of royal icing and glaze that produces consistent results.
Regardless of which type of icing you choose, there are a few essential items for decorating cookies:
- Tipless icing bags — I use tipless icing bags for all my icing. I have tried reusable bags, but washing them out is quite the ordeal. The icing bags linked here are 12 inch size, which I find has the best angle for icing cookies. I tried 16 inch bags and they’re way too big. The 10″ bags are wider, and I find them harder to control the icing. The 12″ bags are “just right,” and provide the best overall control.
- Pastry bag ties — I love this little tool. I’m a frugal gal, so I tried good old fashioned bag ties (like what your loaf of bread comes with), and I tried tying a knot in the top of the bag, and I tried some bag clips we had in the junk drawer. NOPE!!!!! Pastry bag ties work better than anything else. Once you fill your bag, you can twist it closed and use the pastry bag tie to keep icing from squirting out the top of the bag. Easy peasy! And, when you’ve used some of the icing, it’s super easy to adjust. just undo the tie, twist it closer to the icing to keep the bag “filled” and close it back up. OR, if you find you need more of a particular color, it’s easy to add more to the bag! I love pastry bag ties. 🙂
- Pastry tips — For buttercream, a good pastry tip set is helpful. But, as your royal icing skills grow, you might find you want to use tips to make leaves and other dimensional accents.
- Cookie scribes — If you’ve watched the cookie shows on TV, you’ve seen the cookiers use these to smooth out icing, or to drag through the icing to make beautiful designs. You can use a toothpick, but the longer scribe with its handle is easier to use. I like this scribe set with storage box because it protects the tips of the scribes from getting damaged.
- Food coloring gels — You know the food coloring drops you get at the grocery store? They don’t work in decorator icing. Instead, food coloring gels (this is the Americolor brand that I use) add the deep, vibrant colors you see in professional cookies. A drop or two goes a really long way.
For royal icing and glaze, learning the consistency is the hardest part. Most beginners start with icing that’s too thin. It spills over the edge of the cookies and makes a mess. When trying to add details, they blob together and don’t look the way they do in your mind’s eye.
I am no exception!
So, take these words of encouragement! As you practice, it gets easier. Pretty quickly, too!
The ideal icing to “flood” a cookie is similar to mayonnaise. If it pours like maple syrup, it’s too thin! Then, when you want to add details, the icing needs to be thicker like toothpaste (using more powdered sugar to thicken it up).
Get started with royal icing
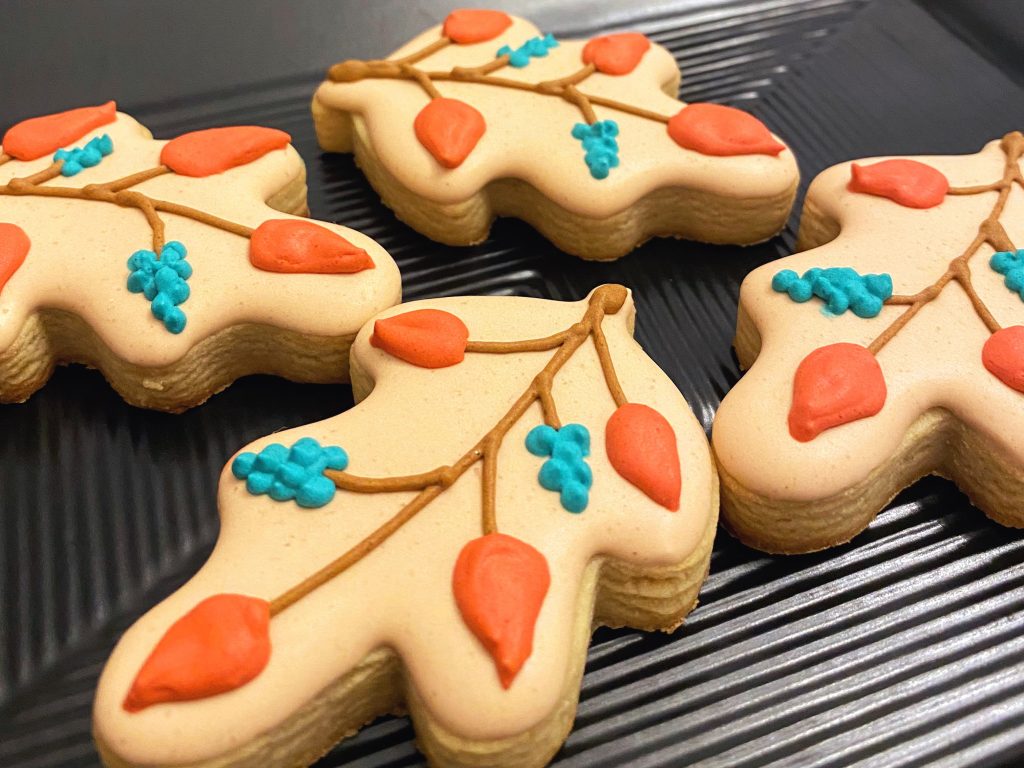
If you are new to decorating sugar cookies like the fancy cookiers do, the easiest way to get started — as in beautiful cookies by this Christmas — I recommend using Judee’s Royal Icing Mix. This complete mix is easy to use for great results even for beginners!
You’ll also want food coloring gels (see above) to create your colors.
To use royal icing for sugar cookies:
- Mix your icing to the right consistency (think mayonnaise).
- Scoop some into a small shallow bowl to color with food coloring gels.
- Cover the remaining icing with plastic wrap so it doesn’t start to set!
- Add a couple drops of the food coloring gel to the small bowl of icing and fold the color through. The more you beat it, the more bubbles you make in the icing. Gentle is best!
- NOTE: As icing dries, the color gets a little richer. It’s okay if you start a shade or two lighter than your goal color!
- Fill the pastry bag with icing. I use a tall, narrow cup to fill my bags, folding them over the lip. Fill 1/2-2/3 full, but not more. Push the icing down into the bag, then twist and close. Set this bag aside and do the same for the remaining colors.
- Next, you’ll want to cut a small hole in the tip of the bag. TO DO THIS BEST, turn the bag so the tip faces up. Flatten the bag tip so that the seam runs right up the middle (like the center of a paper airplane) and cut across the bag.
- Hold the bag with the seam facing up, and using gentle pressure, outline your cookie with icing. Then, fill the outline with icing.
- Using the scribe tool, squiggle the icing around until it’s smooth.
- Then, set the cookie aside and let it dry! It takes 12-24 hours for the icing to dry!
Decorating sugar cookies with glaze follows much the same procedure as royal icing.
Here’s a recipe for sugar cookie glaze icing.
Follow the same instructions as for royal icing to prepare the colors and bags. Then decorate your cookies and set aside to dry. Glaze does take longer to dry, and sometimes can feel sticky even after 24 hours. Plan ahead!

As I said above, crusting buttercream is a little more delicate than royal icing. But it’s what a lot of us are used to with sugar cookies, so….
Here’s a great recipe for buttercream cookie icing.
Some things to know specific to buttercream icing:
- Use the same instructions as above for simple cookies. They won’t have the smooth look of royal icing, but they are cute.
- OR, use decorating tips (See the recipe to see how that works).
- DO NOT USE LIQUID FOOD COLOR with buttercream. It will not work. The water of liquid food coloring will not incorporate into the butterfat of buttercream.
- It takes even longer to set, and cookies should not be stacked or the designs will smush.
WOW! Those were lots of cookie baking tips to share, and they don’t even cover everything I have learned this year.
I sure hope these sugar cookie baking tips inspire you to try making your own cookies this year.
Or at the very least, I hope it helps you appreciate even more the work your local cookier puts into their creations!
If you make cookies and share your photos on social media, please tag my page so I can see what you’ve done!
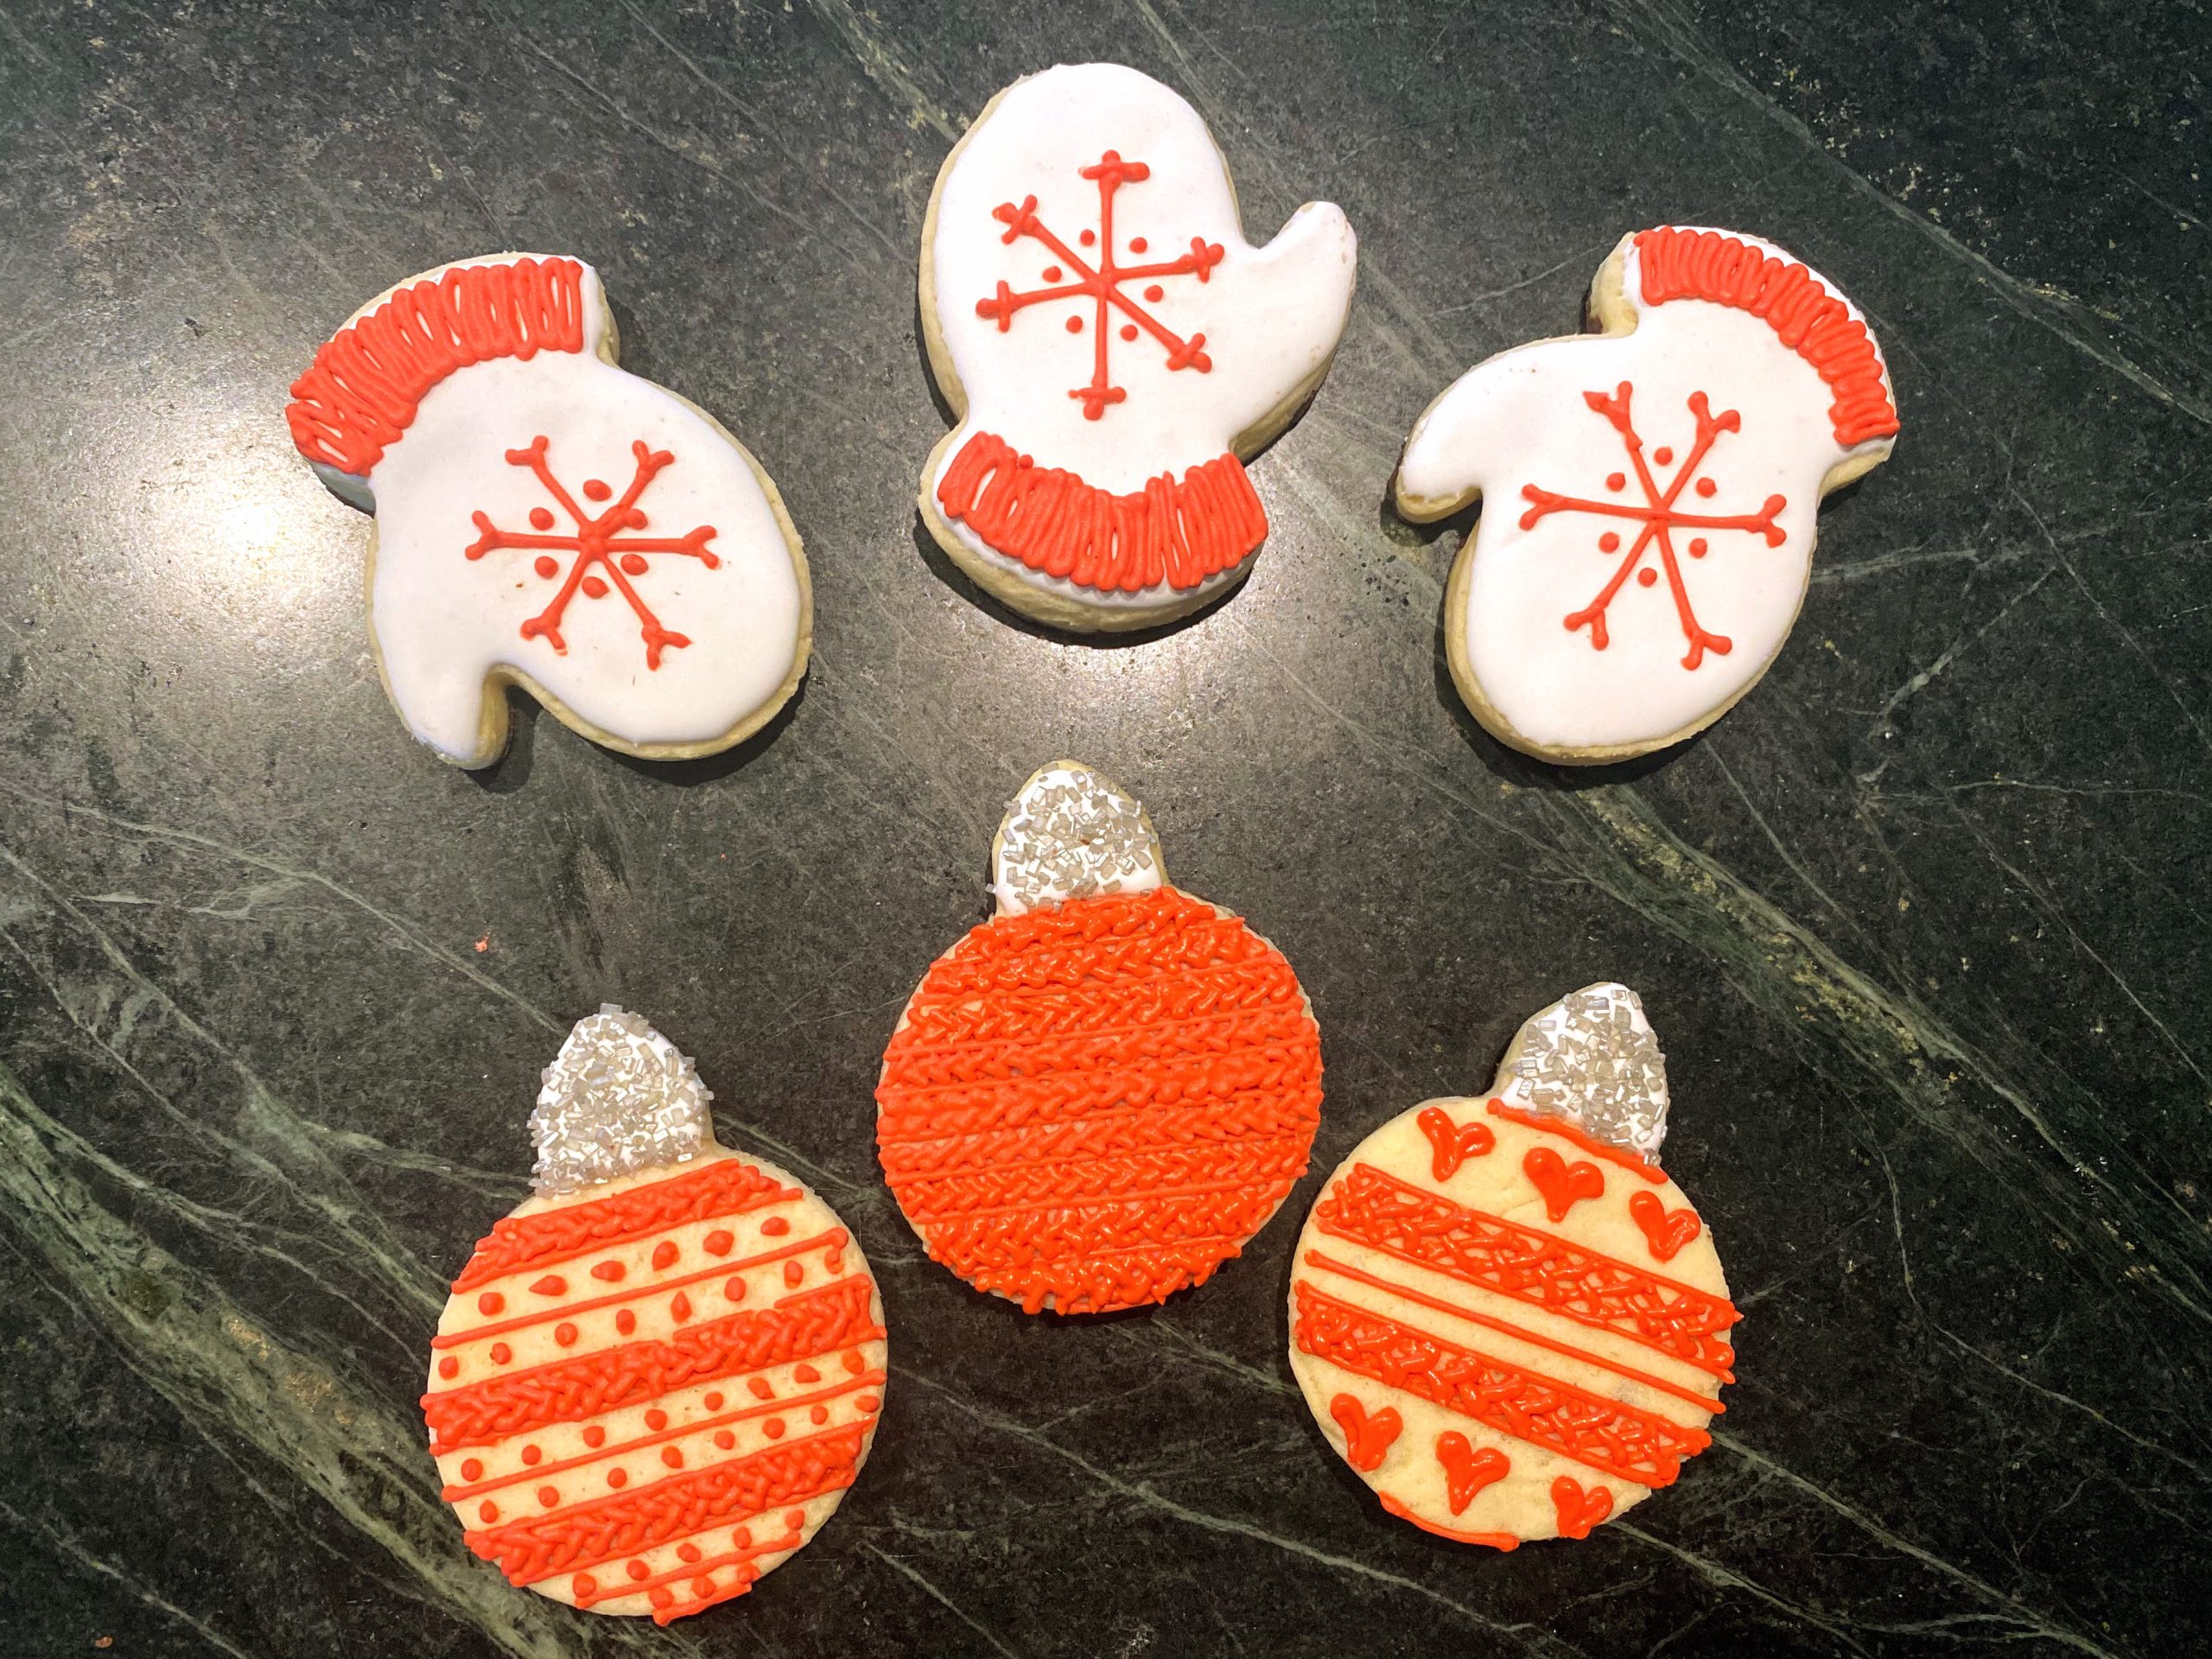
[…] Read all about how to make beautiful Sugar Cookies here! […]