DIY home pantry solutions do not have to be complicated or expensive. There’s a lot better stuff to spend money on, like cute new sandals! if you like shoes, these DIY pantry solutions are for you! I’m all about cheap pantry organization done well.
I’m really late to the Marie Kondo party. Truthfully, I’m not sold out on the super-organized life, but I do want some balance. I appreciate her tips on getting rid of those things that do not “spark joy.”
One thing that does not spark joy — and actually makes me kind of mad — is throwing away expired food that got buried so deep in the pantry I didn’t even know we had it. That happened last week. THREE TIMES!
After the third trip to the garbage can with an unopened box, I got motivated to “Kondo” that thing.
Without really thinking about it, I emptied my pantry right down to the kitchen pantry shelving. And then, I kind of froze. I had no plan. I was just tired of the mess.
So, I took a little break and did some research on DIY home pantry solutions to find good strategies for putting it all back together.
Then, I wiped down the walls and shelves, ran to the store for stuff I needed, and put it all back together. In all, it took about 4 hours to organize my home pantry. Just look at these before and after photos!
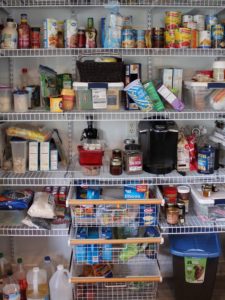
- Pantry Before
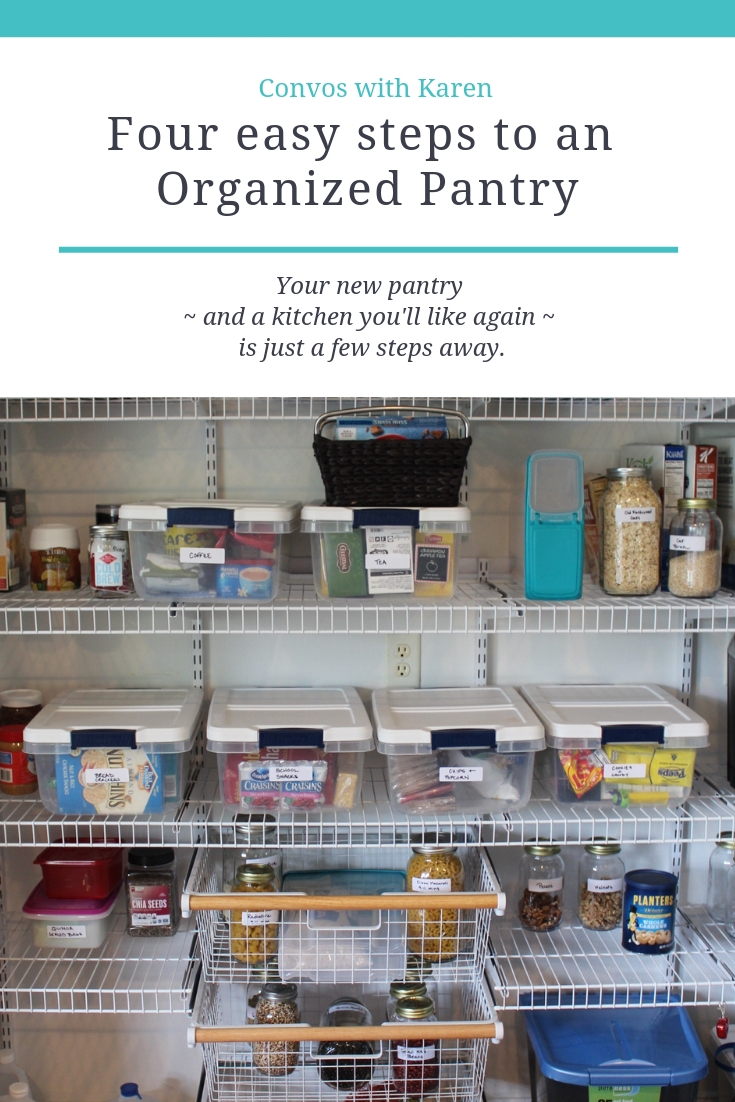
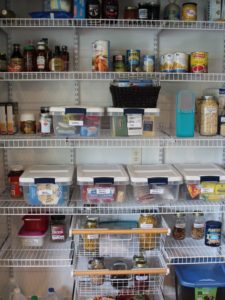
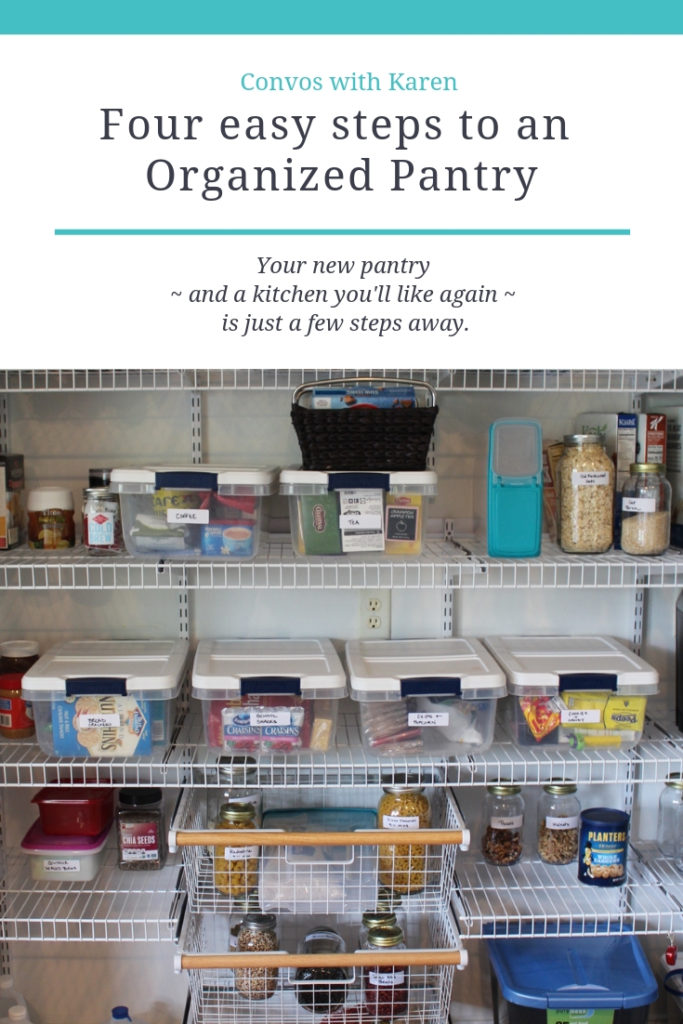
- Pantry After
If you dream of a gorgeous kitchen pantry — does anyone dream of a gorgeous pantry — these DIY home pantry solutions are for you! Hopefully, you’re here BEFORE you pull everything off the shelves so you can do it the easy way from the beginning.
But, if you took my approach and jumped in with both feet, we’re probably destined to be best friends.
Tips for DIY home pantry organization
Before I started reorganizing my pantry (but AFTER I emptied the shelves — OOPS), I read some awesome articles on DIY home pantry solutions.
My favorite tip made so much sense: Organize your pantry in zones! One reason pantries get cluttered is because we don’t think about how we use our food. So, the best DIY home pantry solutions organize food and pantry items so they are easy to find quickly.
Organize by cuisine, such as Asian, Italian, baking, and school lunches. Or, organize by type of food — grains, boxed mixes, veggies. Both of these tips made sense to me, so I combined them to organize our pantry. I organized most ingredients by cuisine, but I set up a zone for drinks, school lunches and snacks, breakfast and for quick meals.
Some other tips for organizing kitchen pantry shelving:
- Use baskets or buckets to gather similar items in one spot.
- Label jars so you can find things easily.
- Throw out expired food (I threw out so much that I didn’t even realize we had).
- Put items kids use at their level and the things you use most at your eye level.
step by step guide to an organized home pantry
I started my project on a whim, frustrated at the disorder in my pantry and all the food expiring unopened on the shelves! Even though it was spur of the moment, it went really well!
If your pantry is driving you crazy too, I promise, it’s easy to fix. And, if you want cheap pantry organization, you’ve come to the right place.
The total cost for my DIY home pantry makeover was only $35!
Step One: Empty your pantry
Sounds simple enough, right? Okay — it really is. I got this part right, even though I didn’t read articles on reorganizing until after this step.
I pulled items from the pantry and set them on the counter, grouping like items together. I threw out all the expired food (sad). And then, I grouped items kind of like the grocery store would: breakfast cereal, canned goods, pasta, tea, coffee, crackers and junk food.
Step TWO: Take note of the containers you need
When I looked at everything on the counter, I could better assess what I needed. We had tons of Tupperware, but after 20 years, lids were lost or cracking. I’m beginning to think Tupperware lids and missing socks live together in some alternate universe!
Anyway, I didn’t want to spend big bucks on more Tupperware. I wanted something different.
In my opinion, the best airtight containers for a pantry are large mason jars. The lids screw on. The jars are dishwasher safe so super easy to clean. And, the clear glass makes it easy to see what’s inside.
For items the kids might use often, I prefer plastic containers with snap tight lids. I have a few Tupperware containers that are still in great shape, so I used those. And, I bought a couple more from the store for breakfast cereal.
STEP THREE: Shop For Pantry containers
There are gazillions of pantry containers at the store. Some are really, really cute. Of course, they’re also really expensive.
Since I had two goals: organized kitchen pantry shelving AND cheap pantry organization, I resisted the urge and moved straight to the mason jars. (Remember, cute shoes!!!)
Here’s my complete shopping list (which contains affiliate links for your convenience at no cost to you. Read my complete disclosure policy here.)
- 6 quart size wide mouth mason jars
- 12 pint size wide mouth mason jars
- A package of labels
- A sharpie marker
- Plastic containers for cereal
- A wide mouth funnel
- Garbage bags for expired food.
That’s it. SEVEN things got the job done. You can go crazy if you want, buying all sorts of organizers, but I like the KISS (keep it simple, sweetie!) method to most things.
Wide mouth mason jars make it easy to scoop or pour ingredients for recipes. Smaller necked containers are harder to use and harder to clean once empty.
About those labels… When I went to the store, I thought about getting chalkboard labels. They’re so trendy.
Trendy = Expensive!
I opted for the inexpensive labels in my list that are removable. That way, when I wash the container, I won’t feel bad that I had to remove the label and throw it out.
Step FOUR: Put it back together
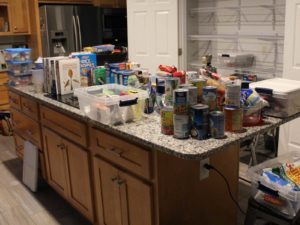
When I got home from the store, I was excited. And then I saw the kitchen counter and got discouraged. There was so much stuff.
After a little pep-talk, essentially, “This counter sure isn’t going to spark joy, girl. Get ‘er done” and “You can’t cook dinner unless you find the stove,” I got to work.
- Start with foods organized by cuisine. I put the easy stuff away first — all the foods I wanted to organize by cuisine. In our pantry that’s pickles, sauces, Asian, Mexican, Italian, fruit. These are individual ingredients organized by the way we most use them.
- Next, organize quick meals and breakfast. Quick meals are the boxed and canned foods for quick meals like macaroni and cheese, baked beans, and biscuit mixes. Breakfast includes all boxed cereals, oatmeal, oat bran and pancake mix. Basically, if it’s ready to use with just a little milk, butter or an egg, it’s in this category.
- Then, group drinks. My daughter LOVES tea and has a ridiculous collection of it. Seriously! Too. Much. Tea. But, now it’s in one place, so I won’t buy any more for a long, long time. I also gathered our coffee into one container: regular, decaf, instant (for emergencies).
- The next step, school lunch supplies. I used some clear bins like these that I already had (but hadn’t ever labeled) in the pantry. After cleaning out all the almost empty bags of chips, snacks and dried fruit, I organized these boxes by how we make school lunches: Bread & Crackers, School Snacks, Chips and Popcorn, Cookies and Candy. We use each bin daily, but it’s super easy to pull the bin forward, pull out the snacks, chips and treat for the day, then slide it back into place! To the left of the bread, we have peanut butter and box milk. A tote for reusable water bottles would fit nicely in this section, as would juice boxes and disposable water bottles.
- Finally, the dry goods. We cook at home a lot — and I rely on dry beans, pasta, rice, and healthy grains like chia, amaranth and quinoa.
- Wash and completely dry the mason jars,
- Use the wide mouth funnel (such a game changer) to pour the ingredients from bags into jars,
- Write the item name on the top and on the removable label with the sharpie,
- Note: For pasta, I marked the cooking time on the label, too, since not all pasta cooks the same amount of time.
- These items went in the pantry in groups: Pasta, Rice, Grains.
- My baking ingredients (flour, sugar, etc) are already organized into Tupperware containers. If they weren’t, I’d do the same thing with them.
My DIY home pantry solutions: One week later
The hardest part of this whole DIY home pantry makeover was realizing how much food we waste when we can’t find it on the shelf. Our organized kitchen pantry shelving has been a game changer!
The school lunch prep shelf is amazing! Packing lunch goes much more quickly. And, since the snacks (granola bars of various flavors, craisins, dry fruit) are individually wrapped, they’re all dumped in one bucket and mixed up. Now, Ellie gets something different every day — no more boring, same lunch every single day!
As I write this, my husband and daughter are grocery shopping (thanks, dears). His grocery list was really short because we could see exactly what we have, making it easy to know what we need. My $35 investment will translate to smaller grocery bills. In the end, I’m sure we will save money, landfill space and waste by knowing what we have in the pantry.
I’m starting to think there’s a lot of benefit to the Marie Kondo method of home organizing. Maybe it’s time to organize my fridge and freezer!

[…] living with less as you work toward downsizing your home. We cleaned out the pantry and stuffed kitchen cupboards to get rid of things we don’t ever use. We kept paring down […]