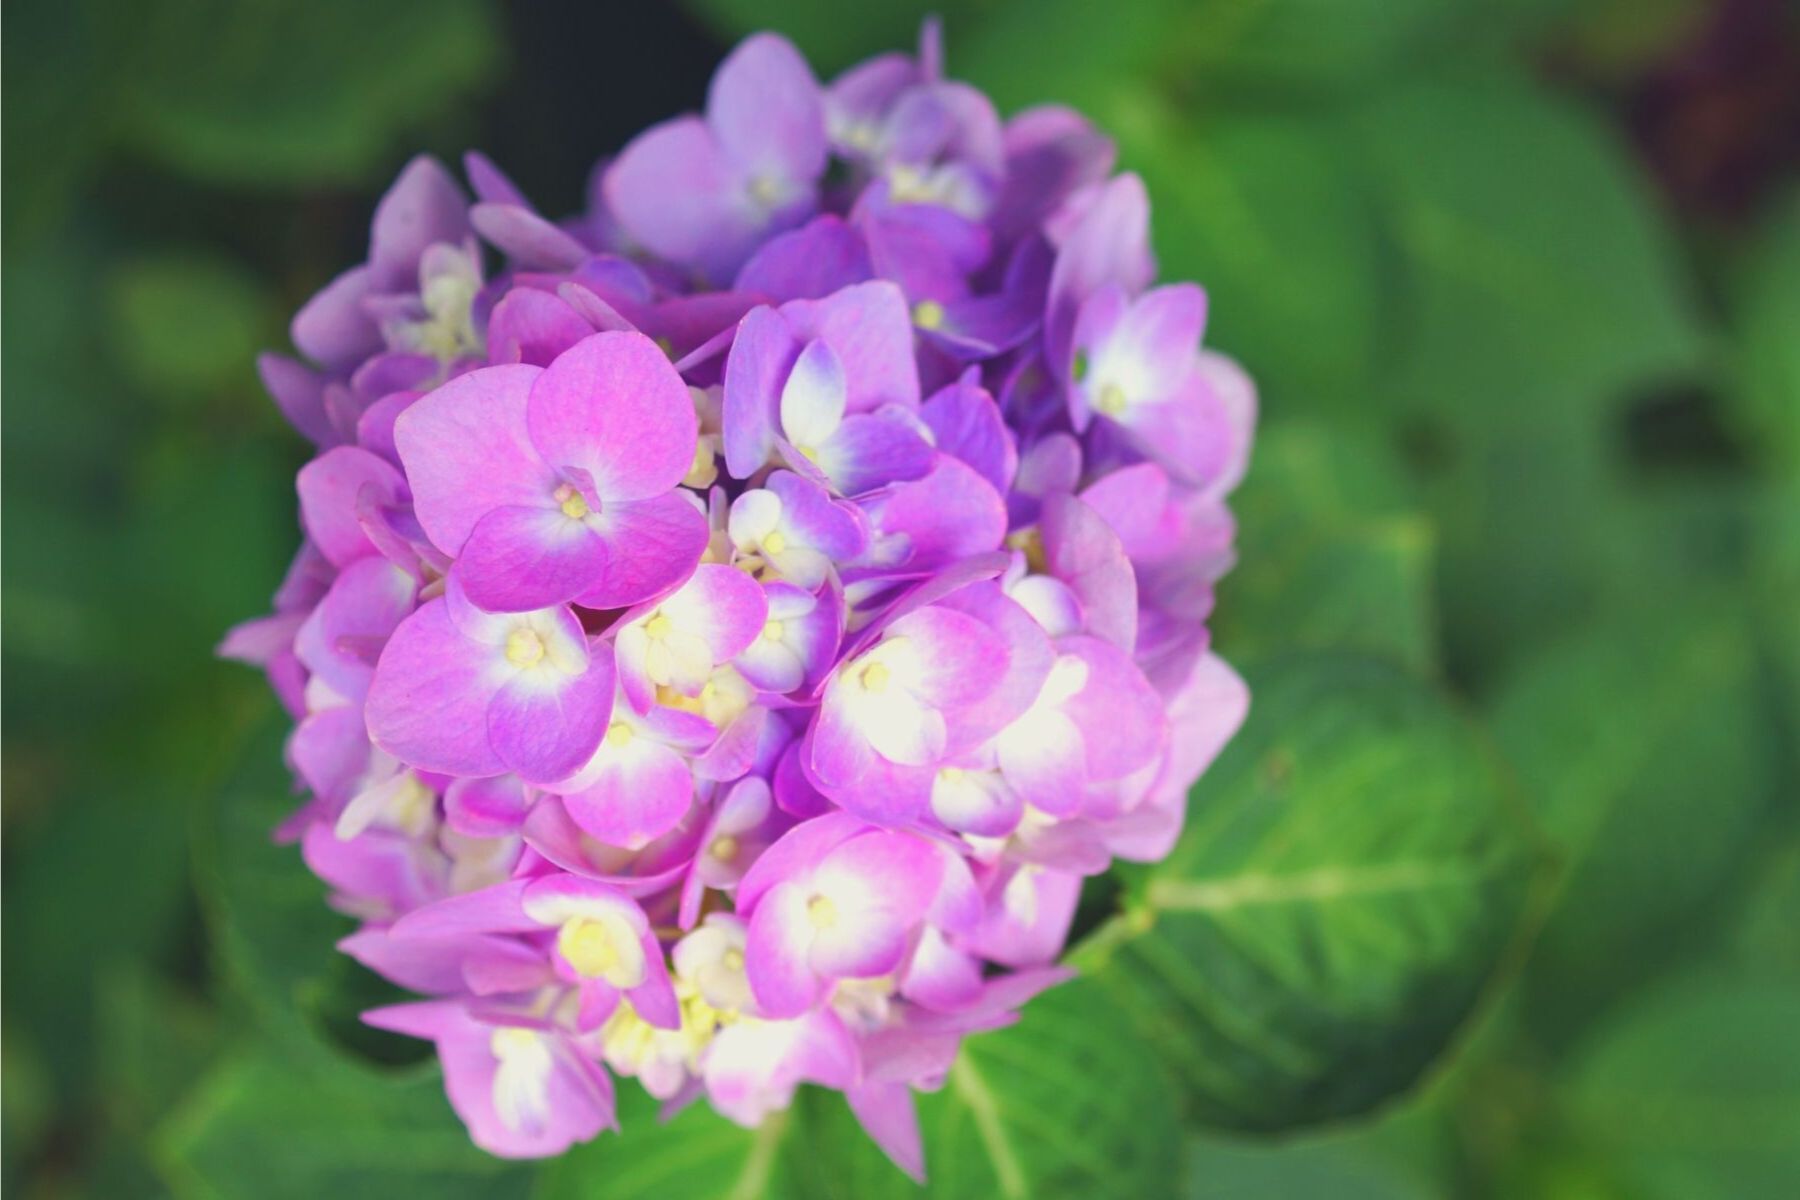
When we downsized from our family home in the suburbs to a townhouse in the city, I did okay with planning for the smaller space. But, saying goodbye to my favorite plants was really hard, especially the hydrangea we planted when our son got married.
I don’t have the best green thumb, but…
I knew I wanted to carry a few plants with me to the new neighborhood. So, I consulted with the few true gardeners in my life, did some research a la google, and tried to reroot a plant (several plants) to take to the new house.
It worked!
I have beautiful little plants that will be ready for the garden early next spring. So, if you’re like me and a bit doubtful of your green thumb, let me assure you that it’s not hard to reroot a plant! You just need the right supplies, a little time, and a sunny window. EASY!
Supplies needed to reroot a plant
I read lots of gardening articles on how to reroot plant cuttings, and this worked. So, if you’re looking for gardening made easy, trust my instructions! This supply list contains affiliate links at no cost to you, just to make shopping easy!
- Rooting hormone — I recommend GardenSafe Rooting Hormone because it’s so easy to use!
- Potting mix — I used Jiffy All-Purpose Potting Mix, but I recommend Miracle-Gro Indoor Potting Mix instead. It is less prone to gnats and fungus (who wants that?!)
- Seedling pots — I recommend these biodegradable, 3″ pots because they make transplanting easy with less risk of shock to tender plants. To determine quantity, multiply the number of plants you want to create clippings of by 6.
- Gardening tray — to make it easy to keep your plants properly hydrated.
- Watering can — I like this one because it has a small neck for better watering control.
- Gardening shears — I like the strength and easy cleaning of the stainless steel blades on this particular set of shears.
- Garden trowel — For this delicate project, a smaller trowel works best. (Though, in a pinch, you could also use a plastic cup to scoop the soil.)
- Gardening gloves — This brand comes in several sizes (a three pack) so you get a good fit. They are especially helpful when using the rooting hormone. (I didn’t wear gloves, but I wish I had.)
- A jar of clean water — I used room temperature tap water that I let sit for a day before I started working.
How to reroot a plant: Step by Step
These step by step directions to reroot a plant come from combining the advice of friends and gardeners I found online. Trust me, if I can do it, anyone can!
- Clean your gardening shears! I washed my gradening shears in warm, soapy water and wiped them dry. The purpose is to make sure they are clean from any fungus or plant “germs” that might threaten the health of your cuttings. (Since I had used them to clip dead and diseased stems in the past, this seemed like a smart first step.)
- Gather all your supplies in a work area.
- Set the seedling pots out in rows in the gardening tray and fill 2/3 to 3/4 full with the gardening soil. Don’t pack it tight.
- With your cup/jar of water in hand, gardening shears and gloves on (this is a classic case of do what I say, not what I do), clip a small branch/stem from the plant. I picked a branch just beyond a Y — where it branches off from the main stem.
- A small stem is all you need.
- Don’t pick a flowering branch because the flower uses more “energy” than a leaf does.
- It’s better not to do this in the heat of the day if doing this during the summer.
- Look for a healthy stem — a vibrant color, with no signs of bugs, fungus or dead parts. Like anything, you get from it what you put into it!
- As soon as you snip the branch/stem, stick it in the water! Snip six stems from each plant you want to reroot.
- Make sure you are wearing gloves for the next step. (The directions will recommend protective eyewear and a mask, too. Rooting hormone is an acid, and it can cause stomach upset if inhaled. It can also cause eye irritation. I had absolutely no issues. I wore my gloves and washed my hands after I was done so I didn’t accidentally rub my eyes and burn them. The warnings sound much scarier than the product is, but safety is always a smart move!)
- Back at your work area, take one stem out of the water.
- Carefully pull off any leafs at the base of the stem.
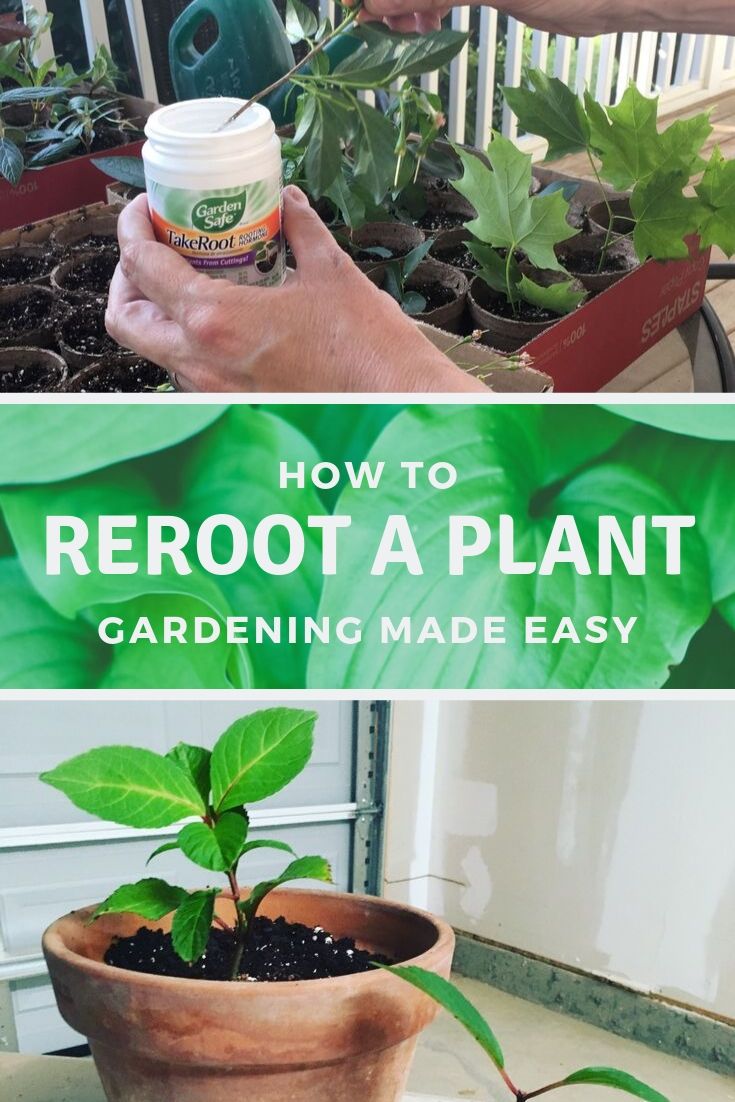
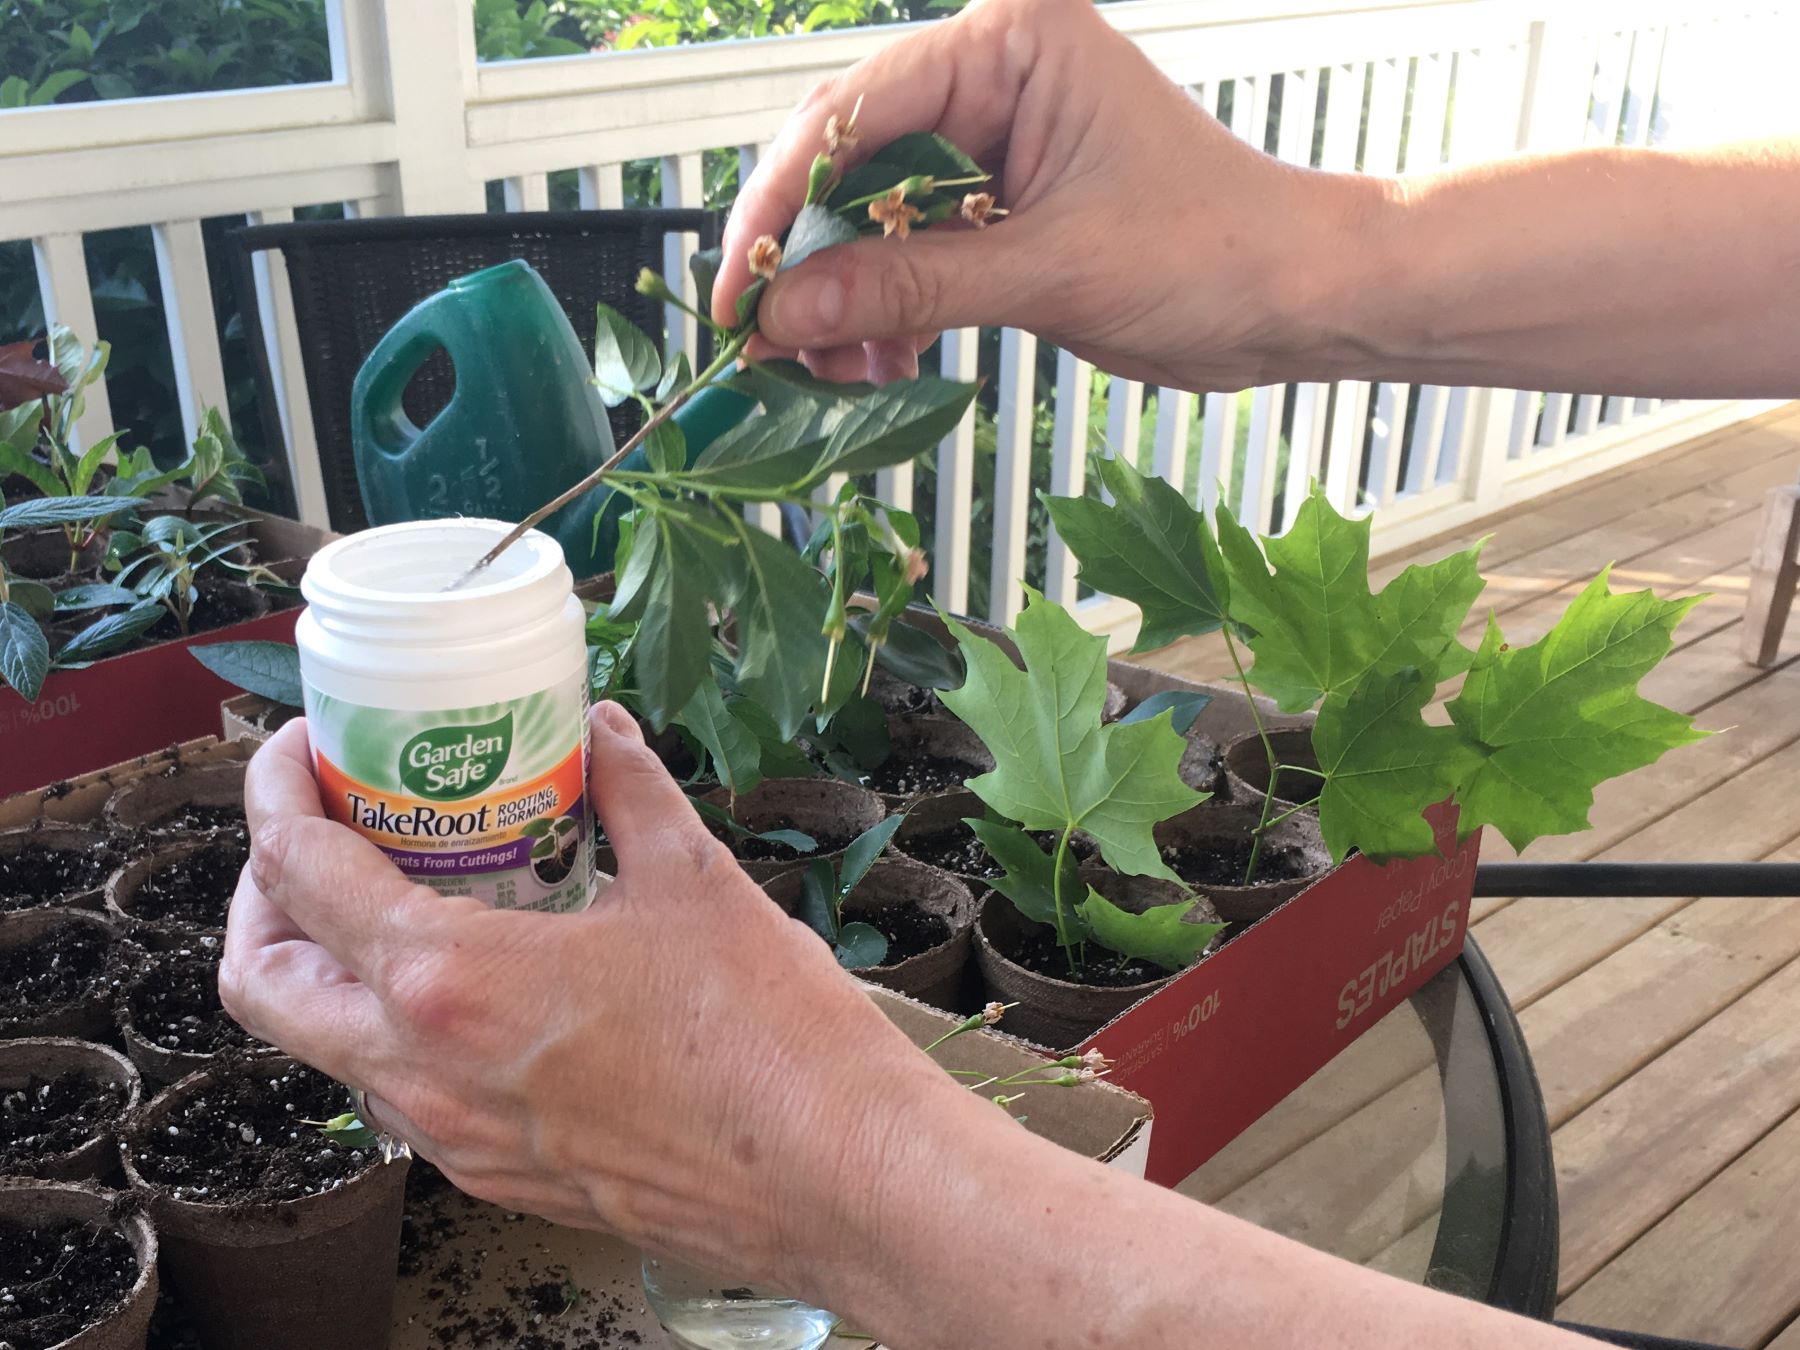
- Stick the wet stem into the rooting hormone.
- Tap off the excess on the edge of the jar.
- Stick the stem into the prepared seedling pot.
- Repeat for all six stems.
- Water this batch of new plants until the soil is moist but not flooded. (A watering can with a small spout allows for better control in this step).
- Wipe your gardening shears and repeat for each plant you want to root.
- Keep plants moist by watering every few days (or so). You’ll know it’s time to water when the outside of the peat pot is dry.
Growing your rerooted plants
- Score the peat pot
- Replant! Tada!
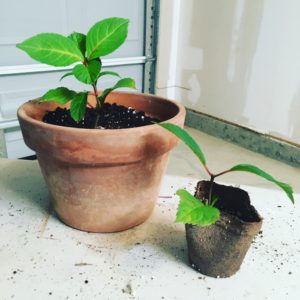
I moved a couple weeks after rooting my clippings. Many of the plants did well, but some did not handle the change and died. I expected that to happen, which is why I took six clippings for each plant I wanted to save. Thankfully, for me, the hydrangea has done the best! It’s the one plant I really, really wanted to propagate. Several others are doing really well, too, and will be transplanted to the ground in the spring!
BUT… they need some love between rerooting and next spring. So, here are the next steps.
- When the plants get to be about the same diameter as the seedling pot, it’s time to move them to something bigger. I used regular flower pots I had in the garage. You could buy bigger seedling pots if you don’t have flower pots around the house. I don’t want to plant my little shrubs until they get to be about a foot tall because our summers are so hot here.
- Fill the new pots about 3/4 full with potting soil.
- Create a hole big enough for your small peat pot.
- Score the sides of the peat pot (using a packing knife) and place your small plant, pot and all, into the hole.
- Pack soil around the potted plant, but not too tight.
- Water well.
- Set in the sun and watch it grow!
- Water weekly.
Save this post for later — whether gardening or moving!
I’ll keep my small plants indoors this winter and will water them weekly. Next spring, they’ll be ready to go to our new, small flower garden! (I’ll update my post next spring with photos!)
[…] Gardening made easy: How to reroot plant clippings. […]